went hiking a last weekend, wearing 2 DIY projects (tank top and cardigan)
Currently- I feel like I’m still finding my blogging niche. Last summer I posted a lot more about food, but that has tapered off. What I originally wanted to blog about was DIY, sewing and style, and I think I’ve gotten the hang of the first two. Now I’m contemplating refining my posts to focus more on style. But I’m conflicted.
Let’s start with my qualms:
1. I think it is easy to confuse fashion with style. Fashion, to me, seems superficial, a manifestation of American consumerism- ick. Style is more about creativity, and I want this blog to be a place for me to express myself creatively. I have to be careful about crossing that line.
2. Also… vanity. I love looking at other people’s style pictures, but I would feel vain to post so many pictures of myself… on the other hand, I want to contribute to this awesome community of bloggers. Leaves me in a pickle.

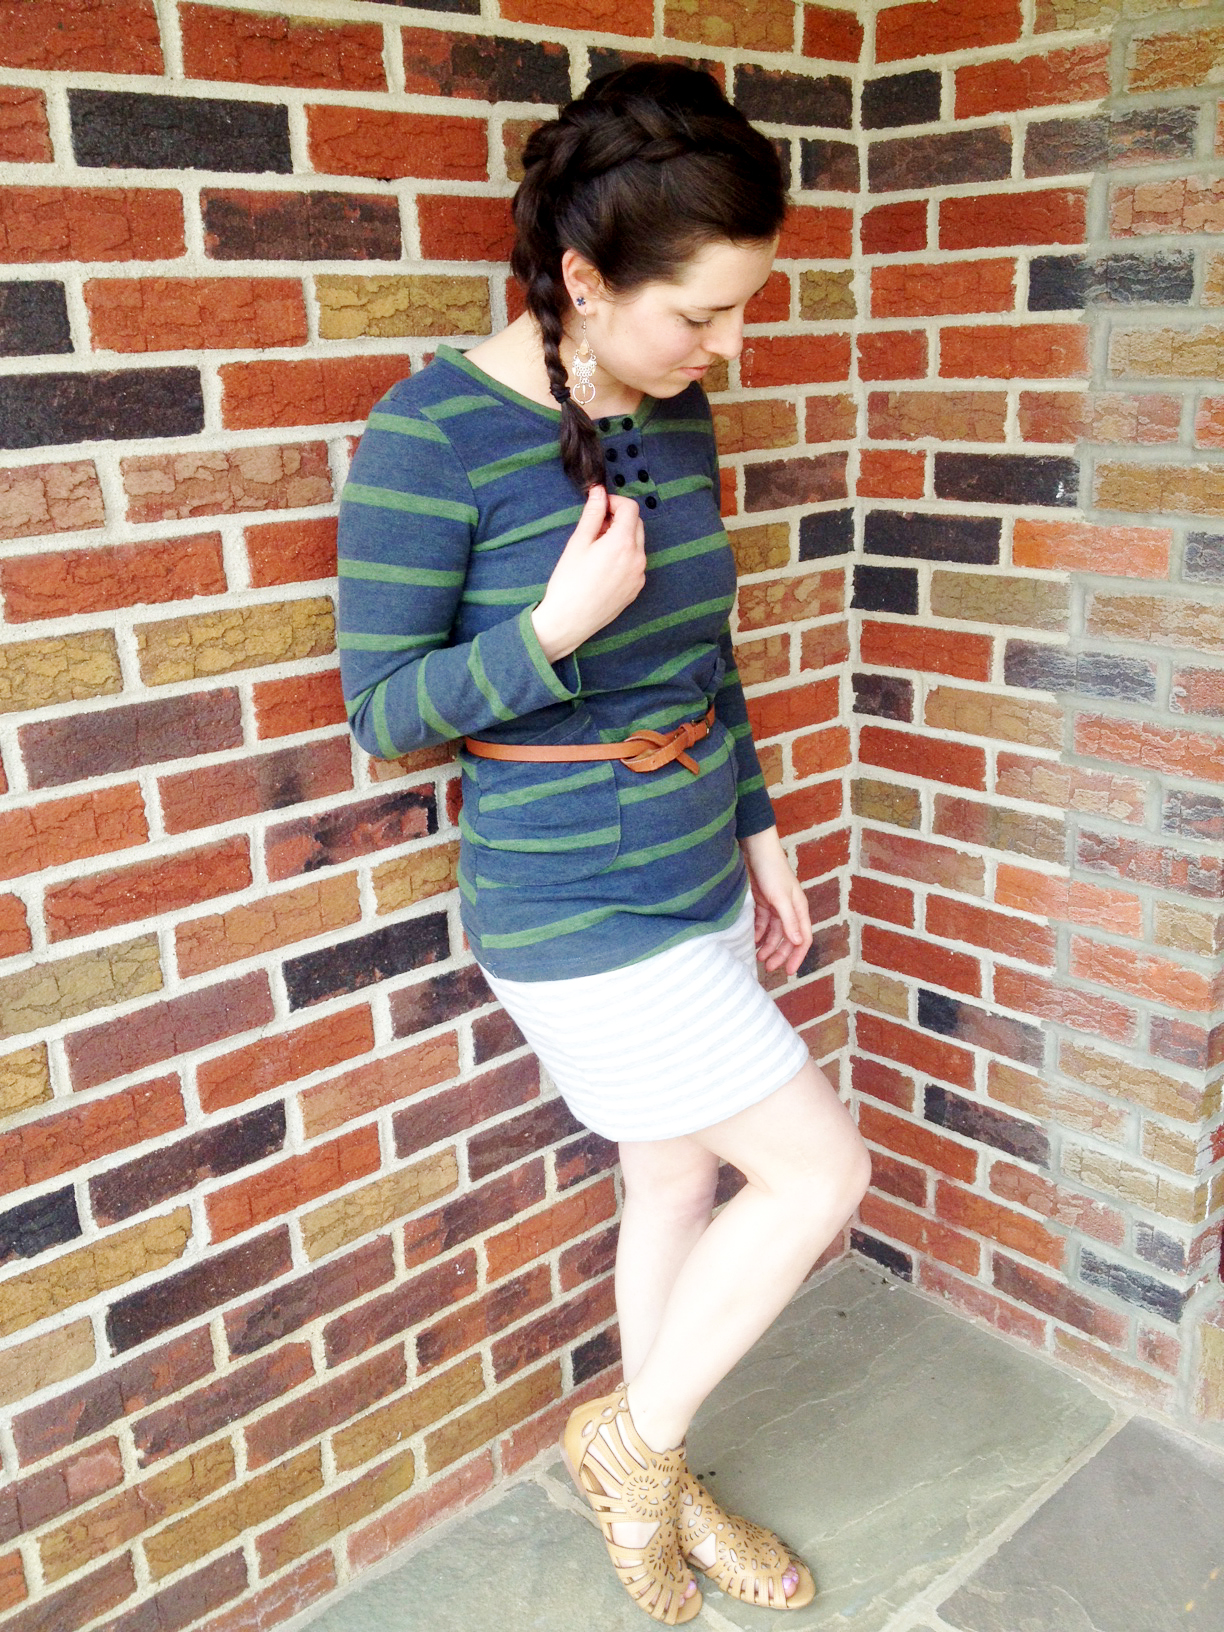
made necklace, altered shirt
But then there are all these really good reasons for me to include personal style on my blog!
1. The intersection of style and DIY make me, Claire, unique from all the other bloggers (and people in general!) out there. My DIYing and style are closely connected. I have had a hand in “touching up” or making almost everything I wear. Over the years, I’ve gotten really good at making pre-made clothes fit me how I want them to. And then incorporating them heavily into what I wear. I think that is pretty cool.
2. I want to write what I would want to read. One of the reasons I started this blog in the first place was that I was so super inspired by style and DIY bloggers like Delightfully Tacky and A Pair and a Spare . I think it would be more interesting to show little projects, like simple circle scarves or pocket alterations in a post more focused on style. Style is something I would be more interested in reading than a post on, “hey look at this teeny alteration I did!”
After too much deliberation and hand wringing, I think I’m going to start posting more style-focused things… maybe. We will see how I feel tomorrow.
I’d love to know what your opinion on this topic is.

puppies and short hair, back in 2011