Archive

Monthly Archives: February 2014

20140223-201647.jpg

Well, it has been a long time coming, but I’m pleased to be posting my last post on fitting my Uniquely You dress form.

*Pause for victory dance*

So here we are.

Where I left off last post I had finished fitting the top of the dress form. This post is long and picture heavy. Let me know if you have any additional questions.

Step 7: Fit the bootie

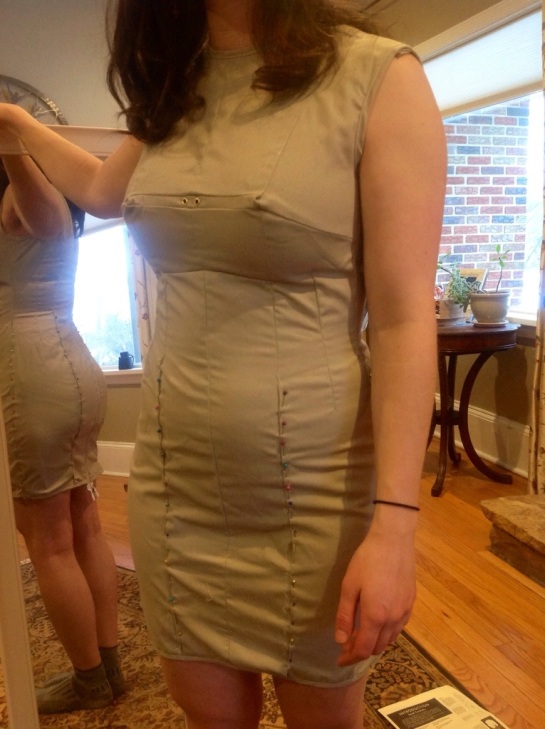
And fit it we did. I knew that this part of the cover would be the tightest, because my hip/butt measurement was the biggest size listed for the size 4 cover. At this point, all the seams except the center front and center back seams were open from waist down. First order of business was to pin those open seams back together.

20140220-224258.jpg

Once I had the cover zipped on, mom (what a trooper!) carefully pinned, starting at the waist, moving down to the hem. I turned round and round, and she put a few pins at a time in each seam. It took almost 30 minutes. Every few pins, she would inspect to make sure the seams hung perpendicular to the floor. I kept track of what she was doing in the mirror.

20140220-223124.jpg

Here I am with all the pins in:

20140220-225013.jpg

Then I transferred pins and sewed along the seams. In case you’re having trouble doing this, I wrote a tutorial on it here.

I tried it on again, marked where I needed to make adjustments:

20140220-230102.jpg

Tried it on again, adjusted, etc. Until it fit.

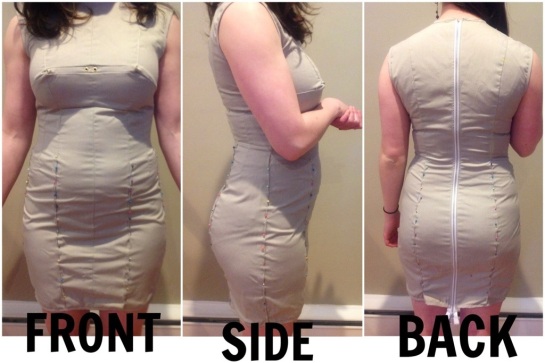
We were very meticulous about fitting the cover exactly to my torso, but we couldn’t quite get rid of all those little wrinkles around my belly and thighs. The cover didn’t pull at all- in fact it did fit like a second skin. After trying and trying different ways to pin and sew the front seams to get rid of the wrinkles, we gave up. We decided that the little wrinkles were an occupational hazard of making something flat (fabric) fit something round (me).

Next, the instructions say to trim seam allowances to 3/4 inch and clip seams at the waistline. I did not trim the seam allowances, and I only clipped the seams a little (skipping this didn’t seem to make a big difference in how the cover fit on the foam form, and I want to have the option to let out the seams if I gain weight in the future).

The last part of step 7 is to mark the waistline and shoulder seams:

20140223-181623.jpg

20140223-181631.jpgI wrapped a tape measure around my waist and used a yellow fabric marker to mark above and below. I chose yellow because I didn’t want the lines to jump out too much when looking at the dress form.

The next instructions were a little confusing- they say “mark the armhole at the set-in sleeve line, starting where the shoulder and upper arm hinge…”

I wasn’t sure about all the “hinge” business so I just marked where the shoulder seam would be on a tailored shirt. Again, I used a yellow marker, so it is a little hard to see. It helped to mark with chalk before using the marker.20140223-181736.jpg

20140223-181645.jpg

OMG IT FITS THE FITTING IS DONE HALLELEUJAH JOY

Step 8: Hey pal, ready for me to zip this on you?

20140220-223109.jpg

To put the cover on the foam form, first tie the strings loosely through the holes in the front of the cover, then ease the shoulders of the cover over the shoulders of the form. The first time I tried it, it looked like this:20140223-181859.jpg

Major pulling on the front of the cover. There was no way that the cover was going to zip over those torpedo boobs without ripping. So, taking a cue from Shona Stitches, I sculpted some new bosoms.

20140223-181906.jpg

I used scissors to cut a little bit at a time off of the foam form till I achieved the desired shape. I kept measuring the bust circumference and trying on the cover periodically till I was able to zip it on.

20140223-182442.jpg

Make sure the center front seam is straight as you press the foam down and zip the cover on. You may need an extra pair of hands of this.  Then adjust the cover on the foam lady by pushing your hands through the armholes, etc.

LAST STEP Step 9: adjust measurements

The foam pushes on the cover once you have zipped it on, making it expand. The last step is to adjust the dress form’s measurements so they match yours. The instructions include a handy table in step 9, but if you are having trouble with this I have included some examples.

1) Measure your bust, waist and hips. Do the same for the dress form with the cover zipped on.

Example: My measurements were 35-26-36. The dress form’s measurements were 36-27-37

2) Subtract your measurements from the form’s measurements to get the difference

Example: 36 inches – 35 inches = 1 inch. There is a 1 inch difference between my measurements and the form’s measurements

3) Divide this number by 4, then sew a new side seam with this seam allowance to make the cover more snug.

Example: 1 divided by 4 = 1/4 inch. I sewed a new side seam 1/4 inch away from the old side seam

When I did this, I ended up needing to cut off even more of the foam from the bust. I also cut some foam off of the the back, right under where the shoulder blades would be on a person. I did this to make the dress form’s rib cage measurement match mine (because my rib cage measurement was smaller than the form’s rib cage).

Zip the cover back on the form, re take measurements, and adjust as necessary.

20140223-182449.jpg

Folks, that is it.

20140223-182053.jpg 20140223-182106.jpg

20140223-182620.jpg 20140223-182828.jpg

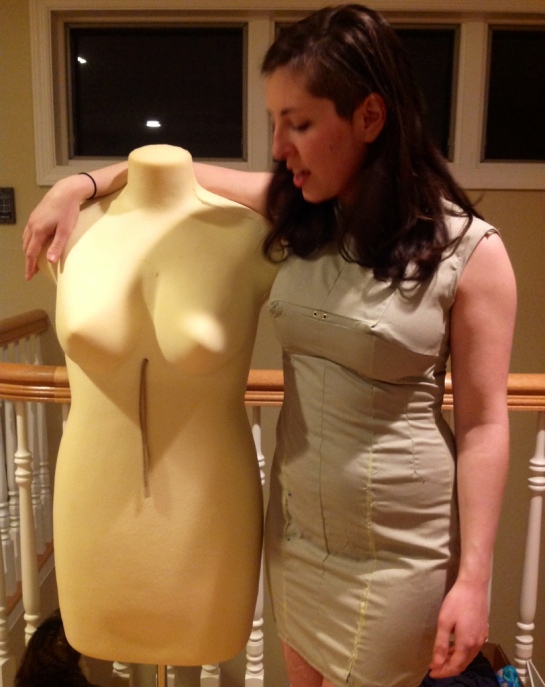
We may not have the same profile, but we have the same measurements!20140223-182754.jpg 20140223-182749.jpg

I hope that these posts have helped you fit your Uniquely You dress form. I have had a lot of fun working on the form and writing about it. Thanks for reading. Good luck to everyone working on their own dress form.

Mom, thank you SO much for your help finishing this! I could not have done it without your extra pair of hands.

*Update 4/13/2014*
Here is a blog button to add to your blog if you are also working on your dress form and want to share!
uniquely you button

Copy and paste this code into a widget (for WordPress) or gadge (for Blogger) on your side bar. Thanks for sewing along.

<img class=”alignnone size-full wp-image-1887″ src=”https://hoopesparkstudios.files.wordpress.com/2014/04/uniquely-you-button.jpg” alt=”uniquely you button” width=”215″ height=”216″ />

20140213-132328.jpg

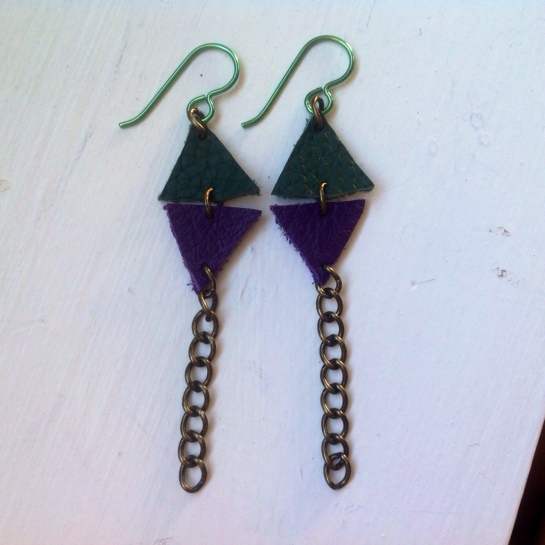
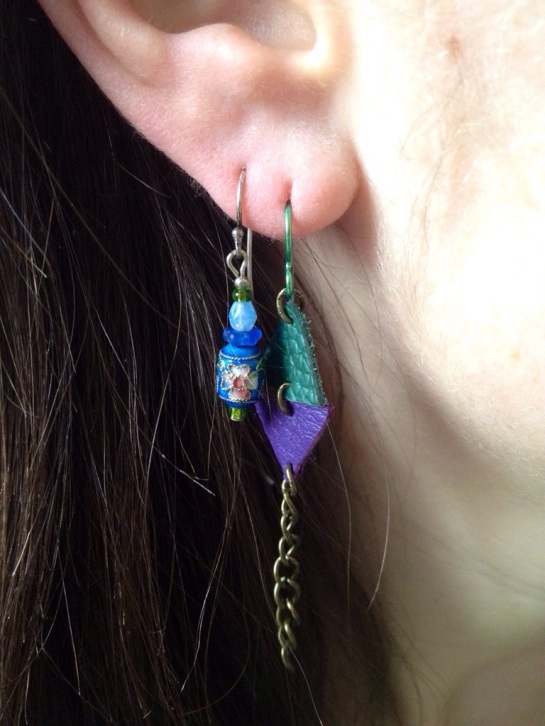
I’ve been away from my sewing machine most of this past month, so I’ve been working on more drawings and other small DIYs (as you can probably tell!). This is a pair of earrings I made recently.

20140204-140236.jpg

I saw these earrings on Shlomit Ofir, the website of a jewelry designer of the same name. These are named the “Bjork earrings”. I really like the multicolored metals and all the different pieces- Shlomit Ofir’s jewelry features such sweet, delicate designs.

bjork earrings

Here’s how I made my own version.

You need: leather in two colors, 2 earring hooks, 4 jump rings, chain

You also need an awl (or thick, sharp needle), scissors, and jewelry pliers or needle nose pliers

Cut out two small triangles from each color of leather. Make sure all the triangles are the same size (it may help to make a paper pattern). The triangles on the earrings I made were about 1/2 inch on each side.

Use the awl or needle to poke two holes in each triangle- one at the point, and the other directly below, like so:

Scan_20140220 (3)

Open up a jump ring and use it to attach two triangles together to make a diamond shape. Attach each diamond shape to an earring hook using another jump ring.

Decide how long you want the chain to be, and cut two chains the same length. Attach each chain to the bottom of the diamond.

20140213-132332.jpg

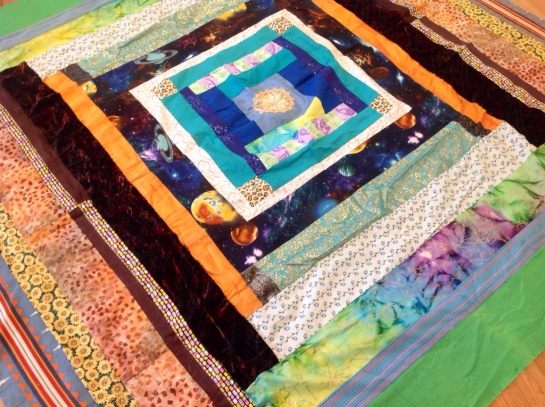
In high school I had a good friend who also liked to sew, and when I went to college, we decided to make a pair of friendship quilts. She blogs on tumblr here.
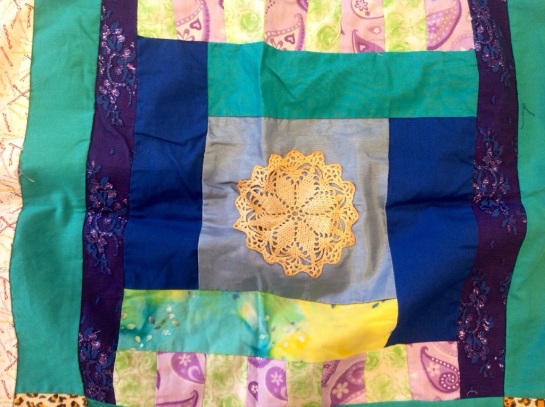
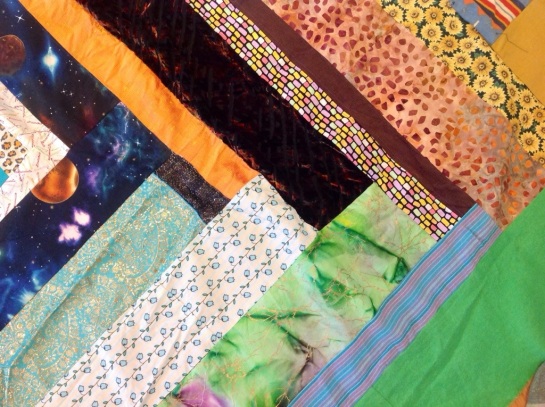
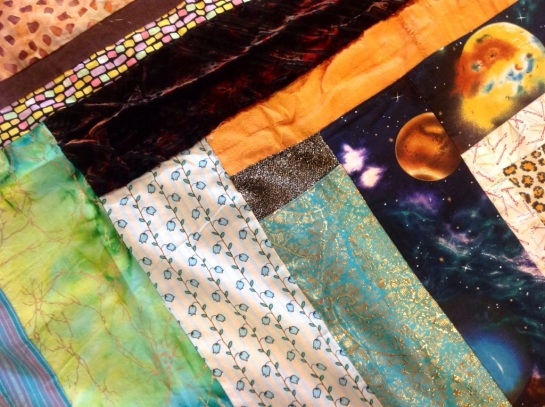
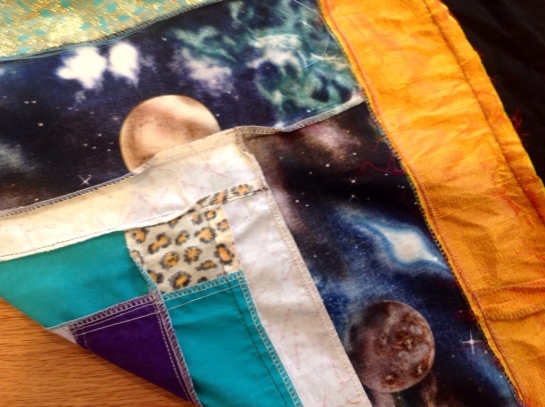
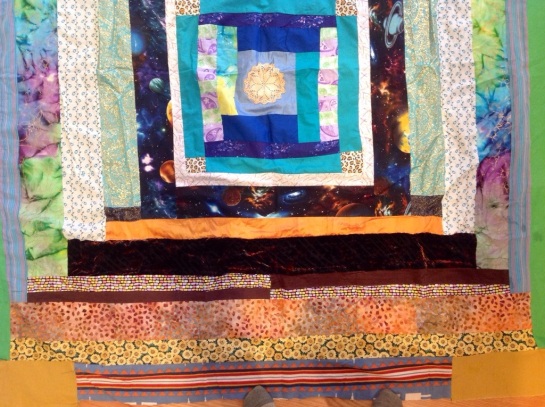
The concept is just that each person starts out with a center square or rectangle, and the pieces are sent back and forth between the two people. Each person adds an another band of fabric to the outside and then sends it back. We mostly got together to work on them over school breaks instead of sending them through the mail. It was a fun way to reconnect with someone with whom I had shared so many good times, and sewing was an excuse to hang out. When she went to college a couple years later, we spent one weekend finishing hers and making it into a duvet cover (for a down comforter) for her dorm room. That was back in 2010. Mine is almost big enough, but we haven’t gotten together to sew since then. Here are some pictures of my quilt.

20131214-173954.jpg

20131214-174004.jpg

20131214-174021.jpg

20131214-174050.jpg

20131214-174114.jpg

20131214-174128.jpg

20140213-115103.jpg

Until last night, I had never made cheesecake. My parents didn’t make it when I was a kid, so I guess I hadn’t really thought of it until i saw this recipe for banana Nutella cheesecake. Conversation ensued with roommate about the Philadelphia cream cheese cake recipe, so, with a snow day predicted (aka sleeping in today), I decided to hold a late night test kitchen.

Here are the recipes. Both make medium sized cheesecakes.

20140213-115030.jpg

Plain Cheesecake
(adapted from this recipe)
Crust
3 Tbsp butter, melted
3/4 cup graham cracker crumbs
1 Tbsp sugar
Cake
16 oz cream cheese (two 8 oz packages)
1/4 cup granulated sugar
1/2 tsp vanilla extract
2 eggs

Line a loaf pan with parchment paper. Combine ingredients for crust and press into pan. Using an electric mixer, whip together cream cheese, sugar, and vanilla extract until just combined. Add eggs one at a time, mixing until just blended. Pour on top of crust. Bake at 325 for 40-45 minutes. Let cool before removing from pan.

20140213-115025.jpg

Banana Nutella Cheesecake
(adapted from this recipe)
Crust
2 ripe bananas
1/2 cup rolled oats
Cake
16 oz cream cheese (two 8 oz packages)
1/4 cup brown sugar
2 Tbsp granulated sugar
1/2 tsp vanilla extract
2 eggs
3 Tbsp Nutella

Line a loaf pan with parchment paper. Mash bananas with a fork and then mix in the rolled oats. Press mixture into pan for crust. Using an electric mixer, whip together cream cheese, sugars, and vanilla extract until just blended. Add eggs one at a time, mixing until just blended. Pour into pan on top of crust. Warm up Nutella, then pour on top of cake and swirl in with a knife. Bake at 325 for 40-45 minutes. Let cool before removing from pan.

20140213-115036.jpg

The results!

20140213-115049.jpg
The Banana Nutella Cheesecake was good, but didn’t blow me away. My main problem was with the crust. The crust was too mushy and thick, and the flavor didn’t balance out the cake well. Also, it stuck to the parchment paper. Next time I would make the same crust as for the plain cheesecake. The Nutella was a good idea, added a little bit of chocolate to every bite! It also made this cake the better looking of the two. It’s so pretty!

20140213-115113.jpg

20140213-115043.jpg

The plain cheesecake was A-MAZE-ING. Clear winner of the taste test. Creamy and sweet (but not overpoweringly so). The crust held together perfectly, and its sweetness balanced out the creamy, rich cheesecake. Yum.

I will definitely be making the plain cheesecake again. I can see it being popular at a potluck (especially all those Shape Note conventions). Quick oats could substitute for the graham crackers to make a gluten free version.

20140213-115123.jpg

Turns out classes were indeed cancelled, so I’m snowed in with my computer and cheesecake. Dangerous combination, but I’ll have to refrain from eating it all so that this weekend’s singing visitors can have a taste. Maybe I’ll cut more snowflakes to distract myself.

From snowy Philadelphia, hope you are staying warm.

backyard through the kitchen window

backyard through the kitchen window

Greeting-cards-pile

Those of you who know me know that I like making silly valentines day cards with bad puns. Last year I sent a card around with a picture of me dissecting a sheep heart on the front, and inside it said either, “I love ewe,” or, “ewe warm my heart!”

super flattering- am I right? ;)

super flattering- am I right? 😉

Another card I did last year for those of my friends and relatives less inclined to find gross anatomical things funny, said, “I love you sew much!” I stitched hearts to the front of the card.

20140207-130632.jpg

Now I’m tasked with coming up with another funny valentines day card… I have a few ideas, and I’ll post the final card after the big v day- don’t want to ruin the surprise for those readers who I’ll be sending cards to!

When I’m making a card, I like to start with what it is going to say. One saying I found is:

Front: For those singletons, it might be a funny reminder that, 80% of my socks are single too!

Inside: Party in my sock drawer! Happy Valentine’s Day.

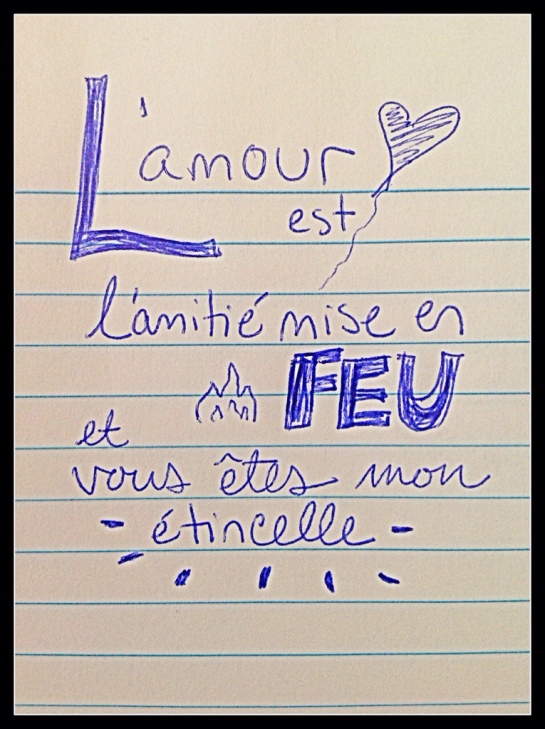
Another saying I found that I really liked is in French, “L’amour est l’amitié mis en feu, et vous êtes mon étincelle.” It means, “Love is friendship set on fire, and you are my spark.” It would be nice to do some word art with this. Here’s a sketch.

20140204-135953.jpg

I also really like these Disney villain cards from buzzfeed:

20140204-140039.jpg

20140204-140043.jpg
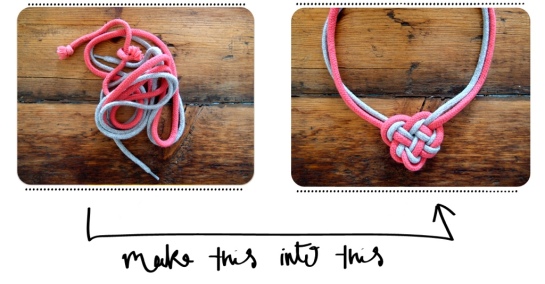
Finally, I saw these instructions from Cones and Clowns for a knotted heart. I think it would be a nice present for a friend who likes statement necklaces.

20140207-131051.jpgI also like putting fake tattoos and stickers in the cards. Takes me back to younger, more carefree days. Happy almost Valentine’s day- hope you have fun making cards!

celtic knot

So celtic knots- nearly impossible to draw- right? Wrong! Here is the easiest way ever to draw them. I learned this at summer camp when I was a kid. I found my old drawings when I was cleaning out my art supplies recently.

Start with a basic rectangle of diagonal dots:

basic knot

Then you fill it in, according to the rules.
The rules:
the rules

This is what the progression of your knot should look like:
the instructions

I drew my knot with thick lines, but you can also make thinner lines for a looser knot.
skinny knot

The smallest knot you can draw is a 3×3 square:

smallest knot

Once you feel comfortable with the basic knot, it’s time to get fancy.
First, you can add lines to make extra edges in your knot. Just connect the lines between two vertical or two horizontal dots:
extra edges knot

You can also draw bigger knots, and draw perpendicular lines connecting dots. This will make extra corners in the middle of your knot:
big knotOnce you have mastered square knots, you can branch out! I made this “J” knot to put on the front of a card for a friend’s birthday:

J knot

I traced it onto a clean sheet of paper and then colored it in!j knot outline

J knot coloreod

Just have fun with it. Remember the rules, and if all else fails, you can always erase and start over. Have fun!

Sorry for the lack of sewing posts lately. I’ve been busy with finals for my third quarter of nursing school and put sewing away for a bit so it wouldn’t distract me. Instead I’ve been working on some other small things.

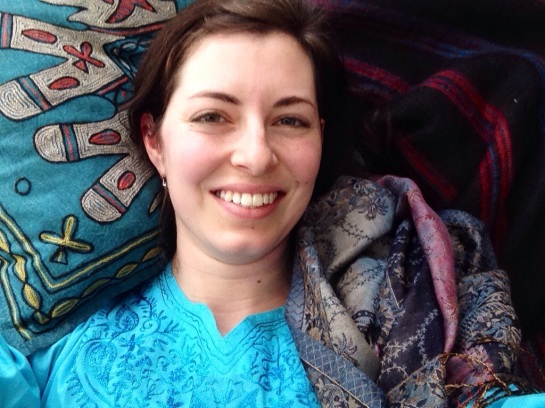
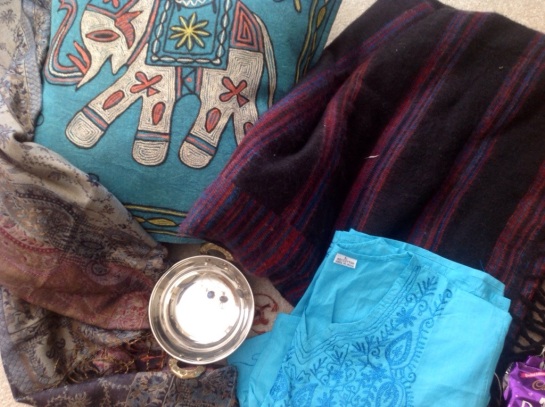
My parents took a trip to India, after almost two decades of thinking about traveling there. Before they left I showed my mom the kinds of fabrics I was thinking about, and this is what she found! Yay for travel presents.
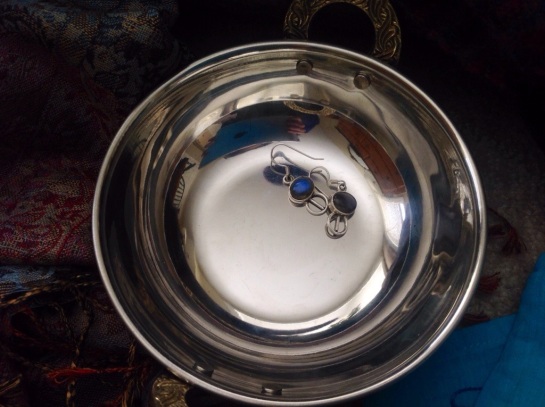
She didn’t find fabric she thought I would like, but she did bring back scarves, embroidered shirts, throw blankets, tons of pillow shams with elephants on them, a couple bedspreads, and some bowls and earrings.

20140204-135430.jpg

20140204-135442.jpg

20140204-135445.jpg

20140204-135504.jpg

Other things lately:
My good friend Alie just got back from a road trip across the USA, and she made me this shadowbox full of shells, pebbles and a sand dollar from the California coast- what a nice reminder of summer in this snowy weather.

20140203-123739.jpg

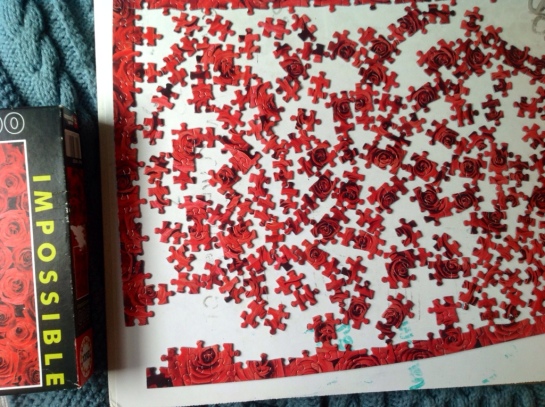
I’ve been working on an Impossible Puzzle- at this point about half of the pieces have been connected to another piece, but there is still a lot of work to do. I can’t quite remember what made me think this was a good idea, but I’ve put so much work into that I can’t stop now!

20140203-124000.jpg

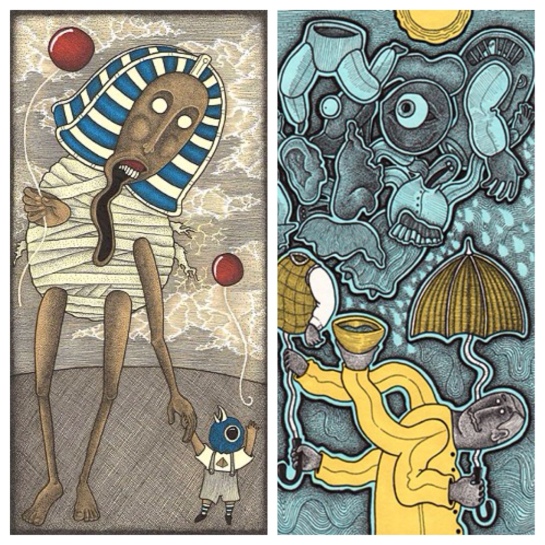
I recently discovered the art of Ben Belcher. I love how surreal and detailed his art is. I literally spent ten minutes looking at the second picture here, poring over the shapes and nested drawings. His website is http://benbelcherart.com/home.html

20140203-131927.jpg

20140203-131932.jpg

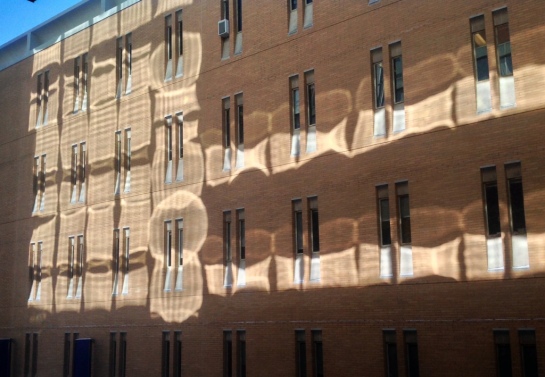
And, finally, I caught this distortion of light during the sunset as it shone through the windows of a building on campus. It’s not a particularly pretty building worthy of a picture, but the way the light looks like it is reflecting off of water is really beautiful.

20140203-124422.jpg

As soon as finals are done I’m going to finish my dress form (aka this weekend), so hang in there. Thanks to everyone who reads and follows for your support! I’ve been having a wonderful time writing this blog and am glad to see others like it too.