Archive

Monthly Archives: November 2013

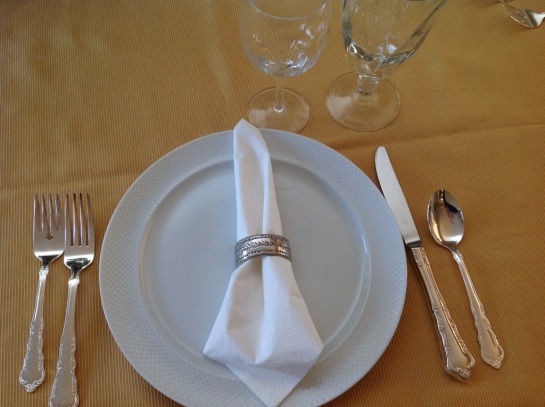
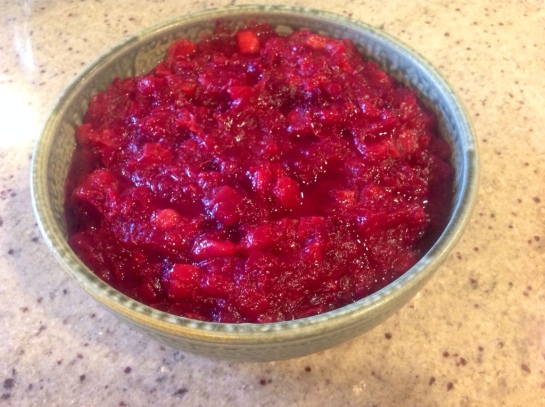
20131128-104731.jpgTwo of my favorite holidays- Thanksgiving and Hanukkah- have merged in a once in a lifetime event! We are celebrating with some family friends, and serving foods from both holidays. I’m most looking forward to trying the Manischewitz cranberry applesauce, especially as a topping on latkes. The turkey is currently in the oven and the kitchen smells like herbs and salty, oily, turkey goodness. There are gelt coins in a bowl for the kids, and the table is set. I can hardly wait for the guests to arrive!

20131128-104742.jpg

20131128-104749.jpg

20131128-104755.jpg

20131128-104801.jpg

20131128-111409.jpg

20131128-111415.jpg
<br /
We will also be singing this song to celebrate the day:
20131128-112438.jpg

Happy Thanksgivukkah everyone. Hope your holiday is full of family, friends and love.

In case you are not already sick of the lists that have been plagueing the internet, here is one of mine. I’ve kept it concise for your reading pleasure. I’m sure many of you have already had your fall coats out for a while, and will be getting your winter coats out soon. Here are a few tips to protect your gear and get it ready for the winter.

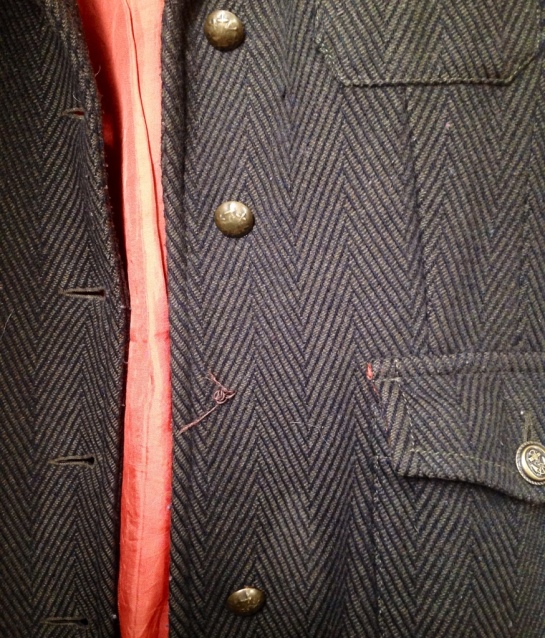
1. Buttons
Reinforce buttons that are coming loose so they don’t fall off later. It only takes a few minutes, and will save you from the headache of looking for lost buttons later.

20131121-212741.jpg

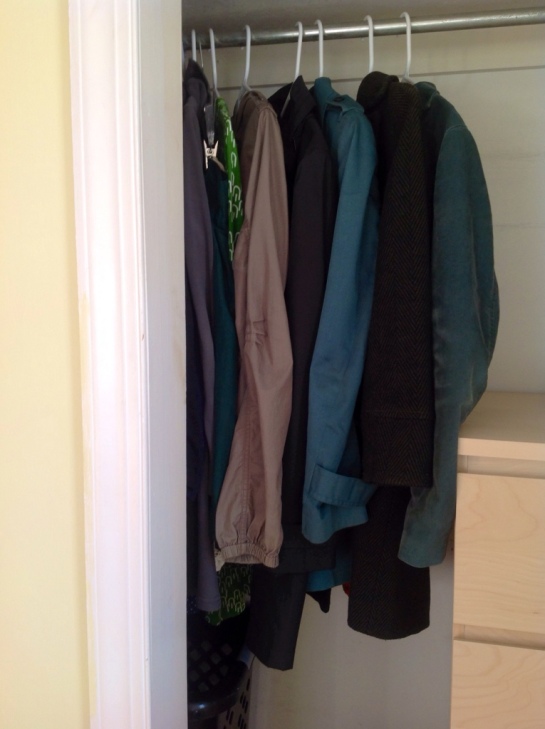
2. Dry clean your coat
I wear my coats for years, and rarely do I clean them (does anyone?). Then they sit in that dirt all summer until fall comes and I pull them out of the closet again. Dry cleaning your coats at the beginning of the season is a good way to wash them without compromising the coat’s shape or the many types of fabric that comprise it. Also, many coats are dry-clean-only.

20131124-145341.jpg

3. Weatherize boots
I oil and then spray my leather and suede boots with a silicone spray to protect them from snow and slush in the coming months. First, I give my boots a rub down with saddle soap. This conditions the leather and keeps it from drying out and cracking. A day or so later, I spray my boots with a silicone spray made to protect work boots. On the suede boots, I use a suede and nubuck protector. You can find these at your local sporting goods store.

20131124-151212.jpg

4. Patch up holes in lining
I’ve let these go, and they only get worse. Catch them early in places that get a lot of wear and tear, such as the shoulders and the insides of the pockets. Patch them with an iron-on patch and hand stitch around the edge, or mend any tears along seams by hand.

20131124-145627.jpg
What else do you do to get ready for winter?

20131116-141142.jpg

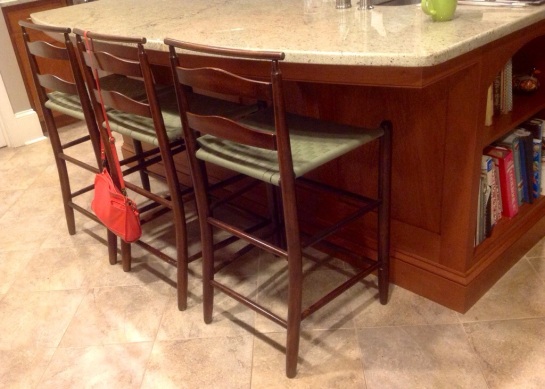
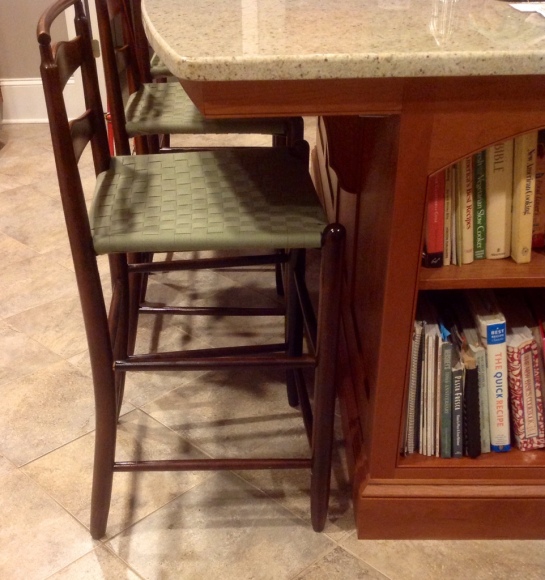
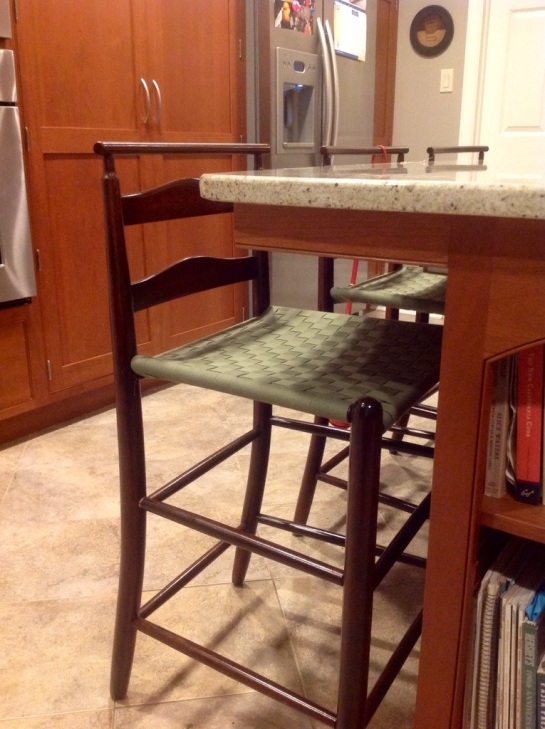
My mom found these solid, lovely shaker style stools on Craigslist for an amazingly low price… because the seats were white, and very dirty. She tried hosing them down to clean the seats, but to no avail! The next time I visited, she said, “Claire, I have a project for you!” And it was a project- an involved, finger achingly long project. But oh so satisfying. And the results were totally worth it.
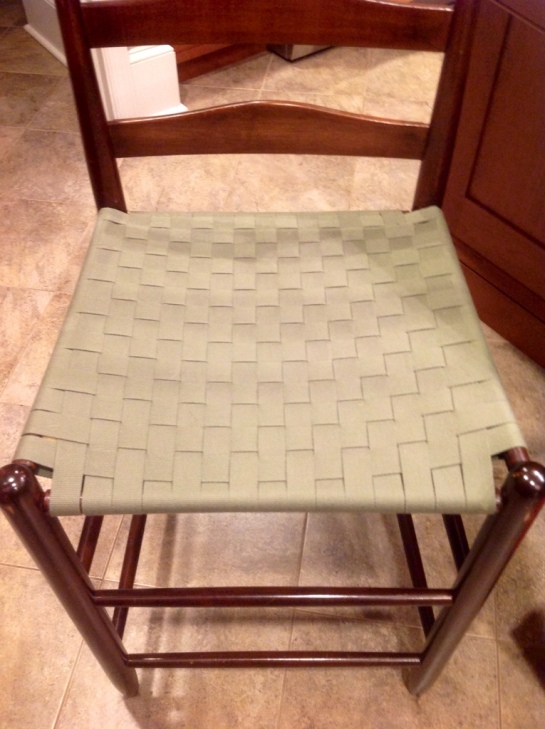
Basically, I unwove the seats and re-wove them with new, clean, green shaker tape.

I ordered new shaker tape from this website, which was about $35/chair. A chair maker friend recommended I buy 20 yds of 1 inch tape.
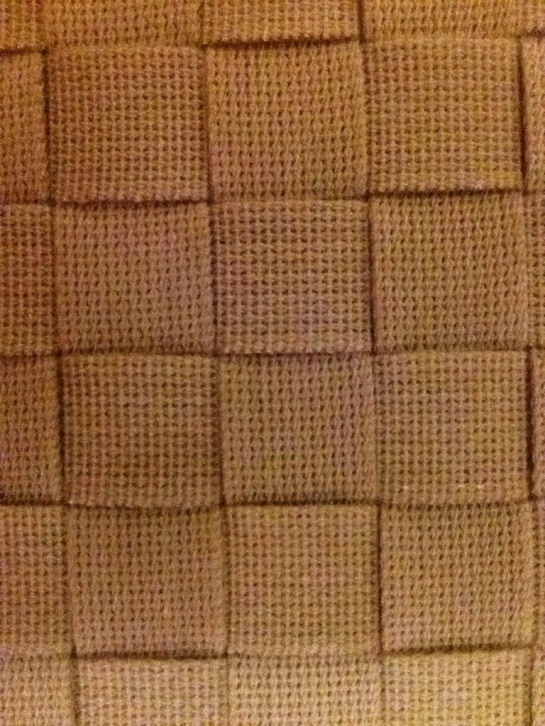
He also said, in an email, “They are woven in shaker tape which is woven cotton cloth you can buy for $30 a chair. It’s a simple over under pattern. Do the warp first just wrapping it back to front starting at the back left and then when you start the weft, you do like a wrap around the back rail and go onto the side rail and work your way to the front going back and forth till you get to the front. Then I use these things surgeons use for sewing sutures that look like long needle nose pliers. You pull the tape along and tuck it in when you are done. If it’s a trapezoid and not square, you can weave a row on the sides going to the back from the front and tuck it in. Also, a cushion can be woven in midway. I make an envelope and fill it with shavings from the chair I’ve made. It is firm. You can also write a letter to the future about yourself or whatever. I do this.”
Lol.
This website also had extremely helpful directions.
I used needle nose pliers to pull out the staples holding the shaker tape in place, making drawings to document how it was put together as I took them apart. It turned out that there was a piece of foam in the middle of all the weaving, so I put it back in place as I rewove the new seat.
I measured out new lengths of shaker tape against the old, un-woven tape. Finally, I carefully rewove the seats with the new tape, putting the cushion back in place between the two layers. I rewove both the top of the seat and its underside to make sure the seat would stay tightly woven for years to come. My dad had some tiny tacks that I used in place of the original upholstery staples to hold the ends of the tape. It took me a few weeks of evenings to finish all three stools.

Every time I come home I love to sit on these stools. I’m really proud of how they turned out. I will certainly be enjoying them when I visit my parents for Thanksgiving this week.

20131116-140817.jpg

20131116-140827.jpg

20131116-140842.jpg

20131116-141056.jpg

20131116-141113.jpg
For anyone interested in more on chair-making, my friend doesn’t have a website, but another chair maker he likes has a blog here.

20131120-114315.jpg

20131121-161604.jpg

20131116-150626.jpg

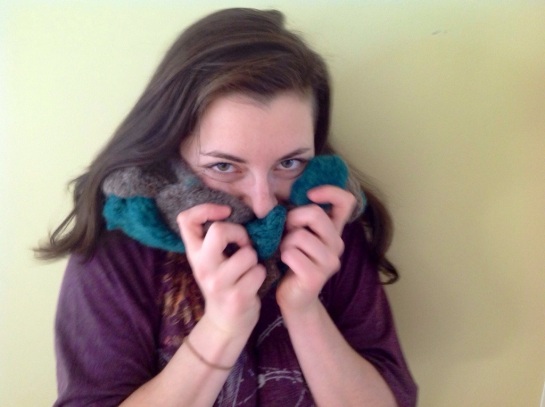
Snuggly scarves. Mmm. Especially when it is cold out. Like right now.
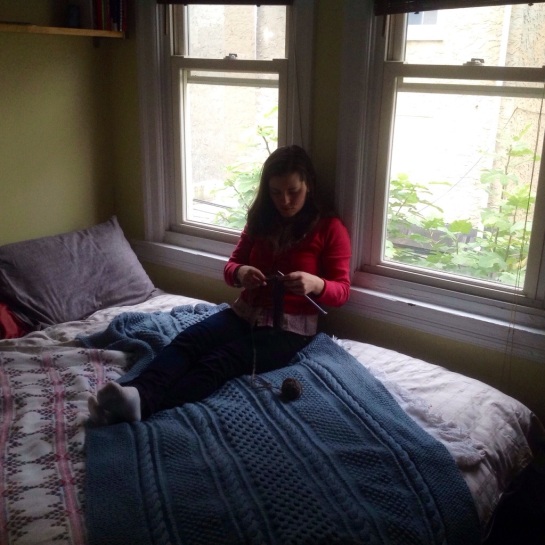
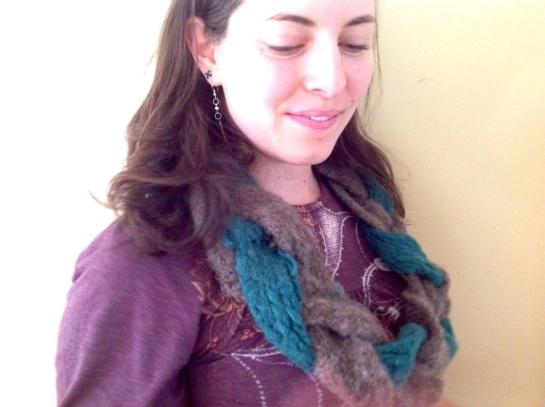
This scarf is another beginner knitting project, just like this one. Since I am new to knitting, everything I come up with is beginner level… logic! It only took me couple evenings of knitting (while watching a movie) to do all the knitting for this scarf. The knitting goes a lot faster with bigger needles, and I found it really relaxing once I got into the groove.

What you need:
Size 11 knitting needles (8 mm)
Thick, fluffy yarn

What you do:
Cast on 7 stitches. Knit 1 row, then purl 1 row (I followed these awesome knitting tutorials from Gina Michele), then knit, then purl, etc. until you have a knitted piece a little over a yard long- mine was 38 inches- and then cast off.
In case you get lost while knitting, remember that it’s time to knit when you see the front/knitted side, and that it is time to purl when you see the back/purled side.

20131110-002955.jpg

casting on 7 stitches20131116-150618.jpg

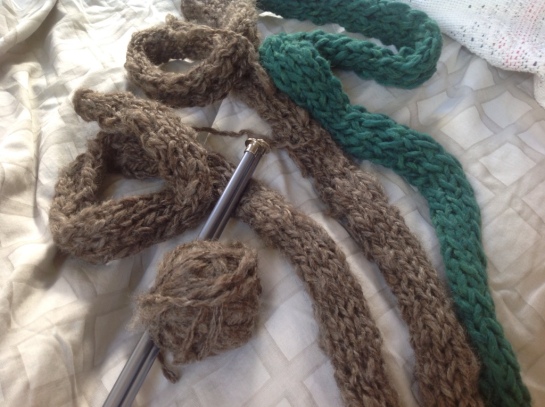
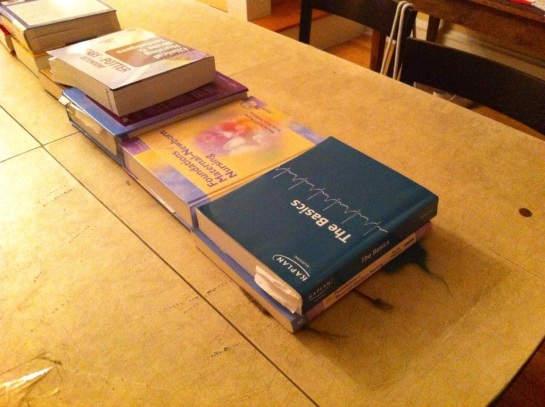
Make two more pieces like this so you have three pieces all together. If you braid them together now, they curl up on themselves and the scarf isn’t very thick. I got the three strands wet and then put them through a spin cycle in the washing machine. Then I laid them flat and put books on top to press them. They stayed flat much better after drying them under the books. The knitting also felted together and the strands shrunk a couple inches in the washing machine. Finally, braid the three strands and sew the ends together with leftover yarn. To do it, I used a plastic needle and the threads already hanging off the ends.

20131110-002928.jpg

curling up before I put them through the washing machine

curling up before I put them through the washing machine

20131110-002943.jpg

see the ends peeking out from the books?

see the ends peeking out from under the books?

20131116-150557.jpg

20131116-150710.jpg

20131116-150735.jpg

20131116-150724.jpgVoila!

Quick post: Just wanted to share with you all a very smart/stupid moment I had a couple days ago.
I like eating the natural peanut butter (aka the kind you have to mix when you open it because the oil has separated out), not JIF or anything like that. Smuckers and Whole Foods are my two favorite brands of creamy, salted, natural peanut butter.
But oh my goodness it is difficult to mix. I will spend a day turning the jar on different sides to get it to sort of mix itself, and then will spend at least 15 minutes mixing it by hand. The whole process is difficult, messy, oily, makes my hands tired, and wastes a lot of peanut butter.
So you can imagine how stupid I felt when I realized I could simplify the whole process by mixing the peanut butter in a food processor. Genius. Let me pause here for a moment to mourn all the time I have wasted over the past few years mixing peanut butter.
Moving on… mixing the peanut butter in the food processor, washing and drying the food processor and putting it away took about 5 minutes. Saves time, and so so much mental agony. Sometimes I would just want a PB&J and would have to spend 30 minutes making it because I would have to stir up a new jar of peanut butter.
I literally poured the jar’s contents into the food processor, pulsed it a few times, and then pressed “on” on the food processor. Poured it back into the jar using a rubber spatula, wasting less peanut butter than ever before!
Success!
This is me giving myself a pat on the back.
Hope this tip saves you all some time and agony.

Exhibit A:

20131118-200340.jpg

20131110-001535.jpg
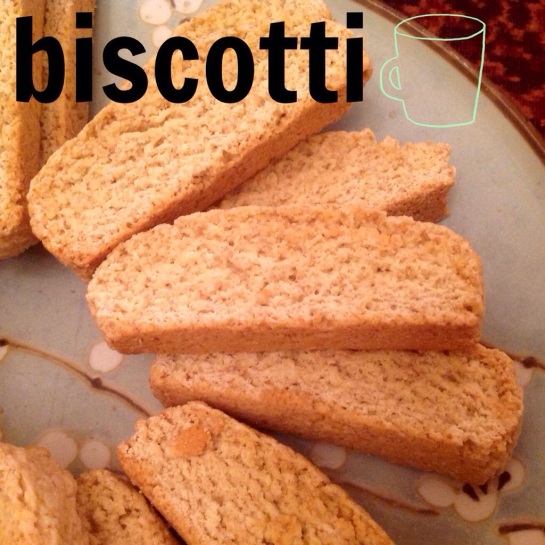
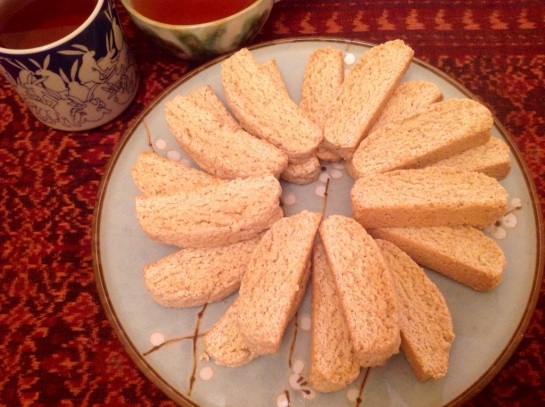
It was a lazy Saturday night hanging out with one of my friends. After it got dark it was too cold to walk to the theater to see Ender’s Game. So we decided to make biscotti, mostly because we needed something to dip in our tea. These biscotti have a nutty almond taste and crispy texture. If you like, you can add nuts to the recipe.

What you need:
2 cups white flour
1/2 cup wheat flour
3/4 cup sugar
2 tsp baking powder
1/4 tsp salt
3 eggs
1 Tbs almond extract
(Optional- about a cup of sliced, toasted almonds or other nut)

What you do:
1. Mix dry ingredients together. In a separate bowl beat together the eggs and almond extract
2. Using an electric mixer, mix the wet ingredients into the dry. Once everything is combined, use your hands to form the dough into a ball.
3. Split dough in half. On a baking sheet covered with foil and lightly oiled, form the dough into two logs, about an inch thick and 2 1/2 to 3 inches wide. Bake at 350 F for 20 minutes, until the logs are firm but bit hard. They should give a little when you press your finger into them.
4. Remove from oven, let cool a little, and then cut into inch thick slices. Turn the slices on their sides
5. Bake for 7 minutes, then flip the slices over and bake for another 7 minutes. They should be golden brown and crispy when cool.

20131110-002011.jpg
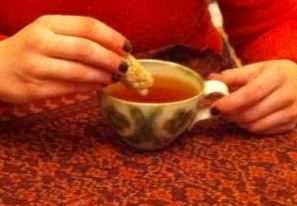
We dipped our biscotti in honey-lavender tea and relaxed with some Netflix, snuggled up in some blankets. It’s so nice being warm and cozy inside when it’s chilly outside. Biscotti and tea were the perfect compliment to the evening.

20131110-002039.jpg

image20131110-002103.jpg

Raise your hand if you like clothing swaps.

image

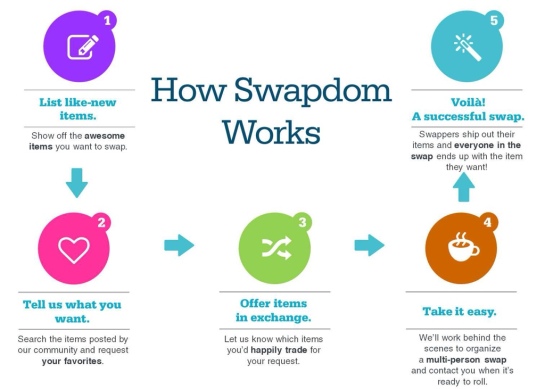
I mean, who doesn’t like having an excuse to hang out with friends and get free clothes? Recently I found an outlet for me to get my clothing swap fix, called Swapdom. Swapdom is an online forum for clothing exchanges, just like a clothing swap party… but online. It is currently in its Beta phase, but you can follow this link to join now. So come and swap with me!
*Update Nov 18, 2013- Swapdom is now open to the public no longer in its beta phase. You can get there by clicking on this link*
You can find my Swapdom profile here.

20131116-135315.jpg
image image

20131102-202929.jpg
I went camping with some friends last month, one of whom does some experimental photography. One night we stayed up late to do some time lapse photography. We left the camera shutter open while we “painted” with flashlights. Since it was dark, the only light entering the camera lens was from our flashlights. We used rubber bands to hold colored cellophane over the light of the flashlight, then carefully wrote our letters, numbers, or shapes in the air. Finally, we closed the shutter on the camera. We also took some long exposure pictures of the stars. Here are some of the results!

20131102-210804.jpg

20131027-133909.jpg

Tote bags are useful, no? I’m always hauling around schoolbooks, my ipad, lunch, and other random stuff I think I’ll need throughout the day. My old tote bag was getting a bit worn, so I (mostly) followed this tutorial by Vanilla and Lace to make myself a new tote bag.

I used some heavy duty upholstery fabric from my big box of random fabric pieces and scraps (every person who sews has one) for the body. I used some leftover shaker tape for the straps. I changed a couple things from the tutorial. Instead of making two rectangles for the sides of the bag and sewing them together, I made one long rectangle and folded it in half. I also made boxed corners so the bag would have some depth. I made the corners by folding the corner into a triangle and sewing perpendicular to the vertical seam about two inches from the bottom above the corner. This video (starting at 0:44) is a good tutorial for how to do this.

20131027-133111.jpg

The Vanilla and Lace tutorial showed a very sturdy, easy way to attach the straps to the bag. And the bag has been holding up well!

20131027-133122.jpg 20131027-133101.jpg

20131027-133040.jpg

photo 1

I bought a dress form!

It’s a Uniquely You dress form. It comes with a “foam lady” inside and a cover. You tailor the cover to fit you, and then zip it over the foam, which fills the cover to be just your size. I did a lot of research on dress forms and I thought it was so super cool when I saw it. It is the only dress form I found that you can really customize.

*Update 2/20/14* I ordered a size small dress form and a size 4 cover.

I watched this video on youtube, by Shona of Shona Stitches, which chronicles her experience tailoring the cover to fit her. She is so cute. What is it about redheaded bloggers that make them so photogenic?

So here is me unpacking the box:

photo 3

photo 2

Look at those funny torpedo boobs!

photo 3 photo 1

And these are the instructions:

photo 5

I FREAKED out when I first tried on the cover, because no way Jose was it going to zip over my round behind. But then I took it off and looked at the inside. Duh, Claire. There is a lot of extra fabric on the inside of the cover that can be let out to make it bigger.

extra fabric

inside of cover- huge seam allowances

So then I read through the instructions. Step 1 basically has you rip open the sides and fit the shoulders. I ripped the shoulder seam about an inch and a half from the neck on each side, and then pinned and re-sewed it. You can see the original seam line in the picture below. I only had to move the seam over about 1 cm, but it made a huge difference in the fit.

photo 5

Both shoulders pinned:photo 1

Right shoulder sewn:photo 3

Left shoulder sewn: photo 4

Step 2 has you mark your natural waist (the smallest part of your torso), and then make a vertical dart 6 inches in length. I needed an extra hand to mark my waist, because every time I lifted my arms to make the mark, the cover rose up with my shoulders, and the mark on the waist was off.

photo 2

So then I transferred the mark to the middle of the panel:

I measured from the side seam line (where I ripped it apart) to the other edge of the front side panel (where it is still sewn together). At the intersection halfway between those and at my natural waist (does that make sense?) was where I put the middle of the dart.

photo 5

Making the dart:

I folded the fabric vertically, right sides together, and pinned it so it wouldn’t move. Then I drew where I was going to sew the dart.

photo 2

photo 4

photo 3

To clarify what I did, the instructions say, “Make a vertical dart in each of the marked panels. To make the darts, fold the material lengthwise through the center of the side front and side back panels. Starting at nothing at the upper pin [3″ from the waistline], deepen dart to 1/4″ at the waist and end at nothing 3″ below the waist (lower pin).”

Here is the cover pre/post dart making. I made darts in all four side panels (left and right front and back), but this picture just shows the dart in the left side.

photo 5

Phew. And I think those were the shortest steps of the whole fitting process… should be an adventure getting to the finish line! Follow along as I continue working on my Uniquely You dress form.

*Update 4/13/2014*
Here is a blog button to add to your blog if you are also working on your dress form and want to share!
uniquely you button

Copy and paste this code into a widget (for WordPress) or gadge (for Blogger) on your side bar.

<img class=”alignnone size-full wp-image-1887″ src=”https://hoopesparkstudios.files.wordpress.com/2014/04/uniquely-you-button.jpg” alt=”uniquely you button” width=”215″ height=”216″ />