So this one time I tried my hand at making a bathing suit and it worked out really well.
When one of my sisters (I have two) came to me moaning, “Claire, I just need one of those high-waisted bikini bottoms that are all the rage this spring!” I couldn’t help myself. Visions of this bikini swam (pun intended) through my head.
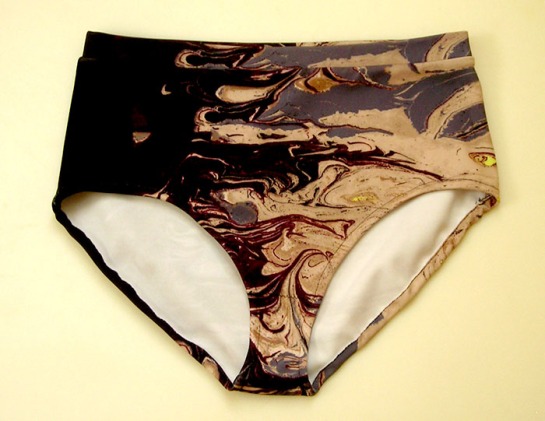
I found this phenom 4-way stretch fabric remnant at this crazy discount fabric place called Jomar in south Philly. What is it made of? I do not know, but it feels like super thick bathing suit fabric and seems to hold up in the water (I checked it in the sink before beginning bathing suit construction). The fabric has all these gorgeous bands of marbled purple, grey, tan, and black. I used less than a yard to m.ake this bikini
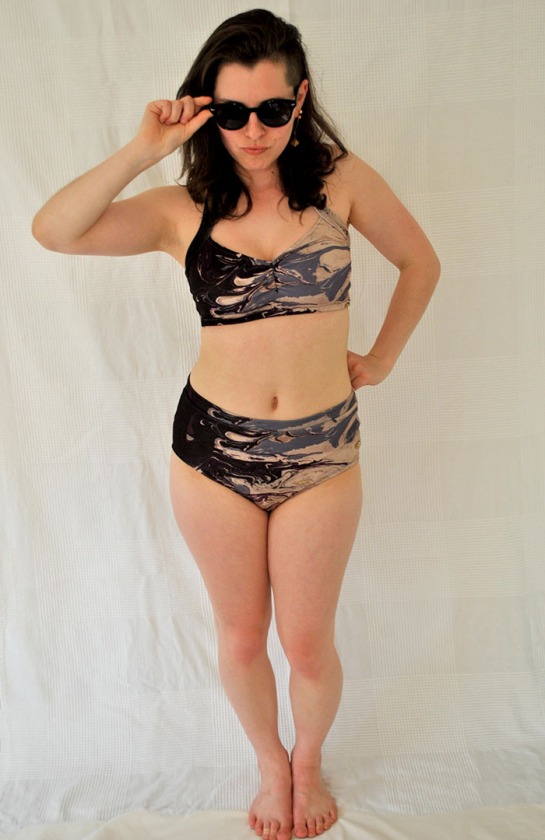
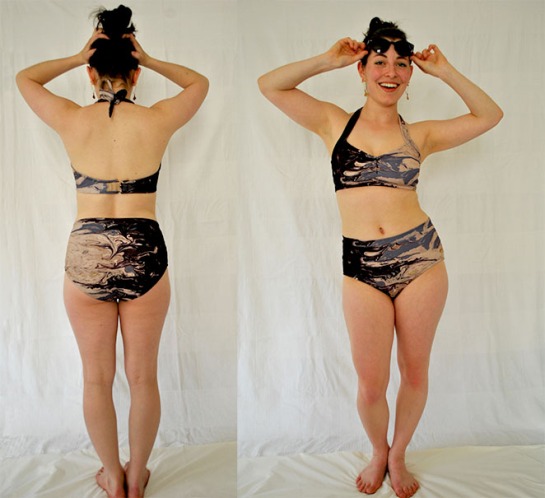
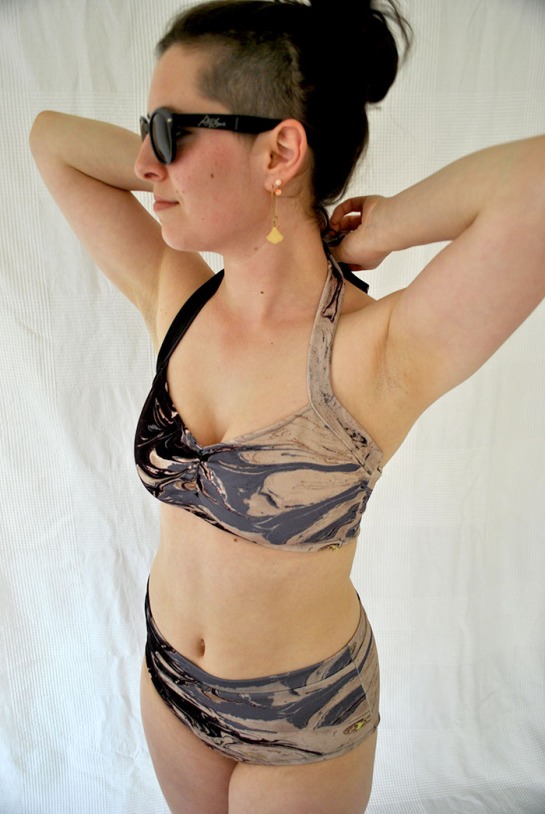
So here is a picture of the front and back of the bikini (also this is what my bod looks like, in case you care).
I started with a tutorial and pattern from Sew Mama Sew (link here), and made alterations to the pattern. This is a great basic pattern for making a bikini if you have never made one.
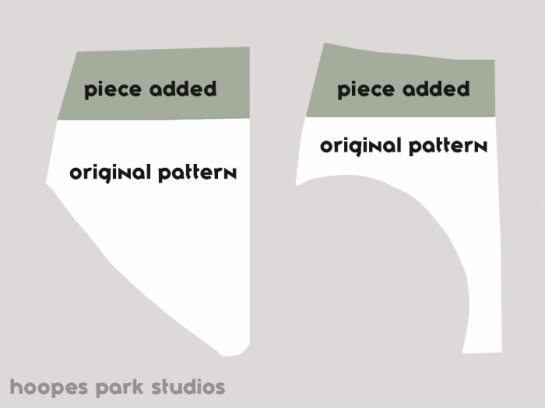
I cut out the size 8 and added 3 inches to the top to make it high-waisted. From there, I followed the pattern instructions, except that I added a 1.5 inch waistband rather than sewing elastic around the waist. (I made basically the same bottom for my sister, but in a different size)
The instructions for drafting the bikini top were what made me choose this pattern. They are straightforward and easy to follow. I drafted the top according to the instructions in about 10 minutes. I made the pattern for the top according to the tutorial instructions, but I changed the construction. The alterations I made from this point on are a little harder to explain. Bear with me while I explain.
Here is the finished top:

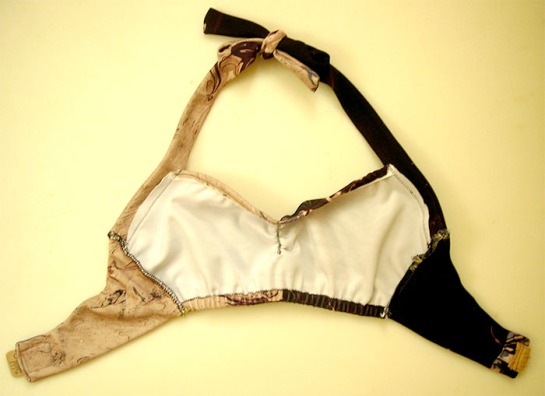
I made two straps, 22″ long and about 2.5″ wide. Rather than leaving the top hem rounded, I attached the straps to the outer third of the top hem and then trimmed the inner two thirds straight. I gathered the middle of the top (per the tutorial). I added elastic to the edges of the top and bottom. I lined the back pieces of the top and attached them to the front. I stabilized side seams with double rows of stitching. I cut the back hook closure from an old bra to use as the back closure of the bikini top.
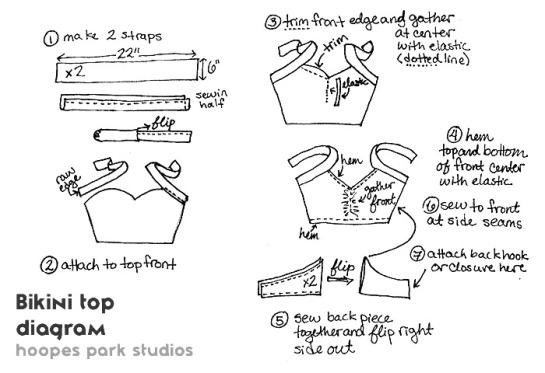
Diagram:
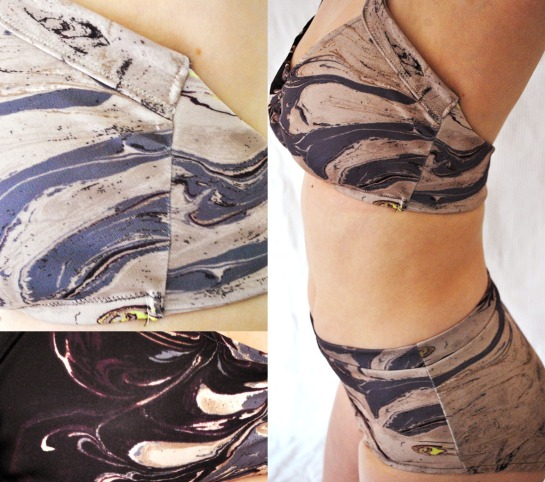
And details:
The top feels pretty secure. I wear a 32 DD or DDD bra, and this feels like a light sports bra. I considered adding cups and a wire, but I wanted something more sporty. I think the key with the support here was attaching the halter straps to the top along a wide region rather than only at one point.
Thanks to the same sister (Ro) who inspired this project for taking pictures. She seems very happy with the bikini bottom I made for her, and is going to wear it with a black bikini top she already has. In the end, I made two sets of bottoms and one top. We’re ready to hit the pool!
bikini // self made :: earrings // vintage and Spotted Moth :: sunglasses // street vendor in France


