Uniquely You Dress Form: steps 3 and 4 (fitting the bust)
Here is the second post in my Uniquely You dress form saga!
Where I left off last post, I had just finished putting darts in the side front and back panels of the dress form cover. I had also fit the neck and shoulders. In steps 3 and 4, I fit the upper torso and bust. I needed an extra pair of hands for all the pinning. I also chose my bra carefully, and wore the bra that I usually wear while pin fitting the cover.
Step 3:
First you put on the cover, with the side seams still open. Then, pin the side seams, from the waist up to the underarm. On me, the side seams barely met below the bust. The instructions say to release the side front and side back seams if this is the case. I let out the side front and side back seams about an inch each, below the bust only. After I ripped the seams from just under the bust down to the bottom of the cover, I re-sewed the seam from under the bust to the natural waistline.
Step 4: the bust!
The first instruction in step 4 is to make sure the front seams cross the bust points. It says to adjust the seams if they do not cross the bust points. I skipped this, because it mentions a good way to do this later on in the instructions.*
Next it says to pin the side front seams between the bust point and shoulder. You follow the hollow of the upper chest to make the cover fit the top of the bust. I ripped these seams open and re pinned them. *This is also where I adjusted the seams to cross the bust points. Again, we are working on the side front seams here.
The pinning was so specific that I was afraid to flip the pins to the other side without losing some of the shape. I topstitched the seam close to the edge to keep the shape as much as possible.
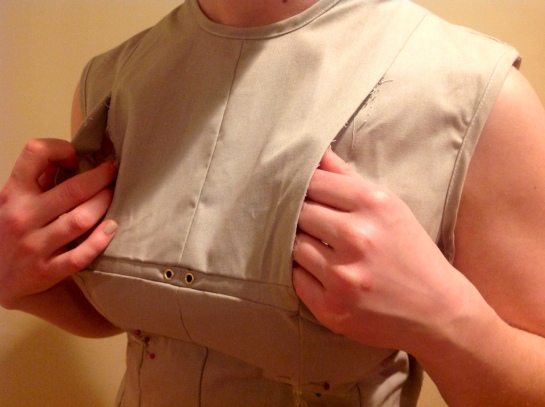
Next, it says to “nip in tightly under the bust” and pin the underside of the bust. The cover fit me pretty well here, so I just made a small adjustment under the bust. You can see in the picture below that I marked with pins the area that did not fit tightly. I made a little dart to remedy this.
If the seams do not meet under the arm, let out the shoulder seam a little. I didn’t have a problem with this, so I moved to the next part.
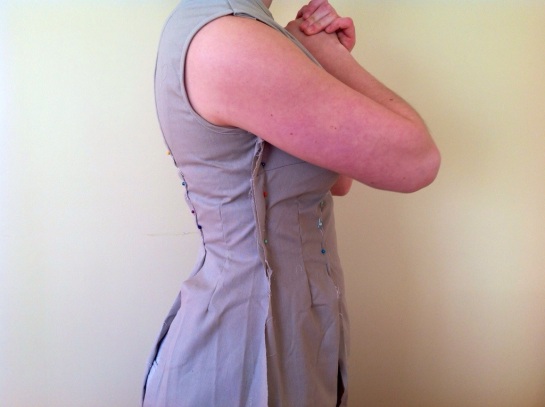
After sewing all the seams you pinned, try on the cover again to check the fit. Re pin the side seams while the cover is on. You are making sure that:
– The seams hang perpendicular to the ground, and are not slanted or pulling to one side
– There is no “pinching, drawing, or compression of the bust and chest” either in the front or the back.
– The cover fits right over your bra, like a second skin
– The seams match up under your arms and the shoulders still fit well
Here is my fit test:
What do you think?
The last part of step 4 is to dart out any remaining fullness in the bust. The instructions recommend this for most busts larger than a size C. I am a DD, but I didn’t need to deepen or add any darts to the bust to get the cover to fit.
Check back later this month for step 5, where I finish the bust fitting, and step 6, where I fit the back of the cover. Thank you to those of you who have commented to keep me motivated on this project!


THANK YOU for these instructions. I just got my Uniquely You form for Christmas today and your descriptions/ pictures have helped me decipher and interpret the instructions! Keep up the good work!
LikeLike
Im so glad I could help! Good luck fitting your dress form.
LikeLike
Pingback: Uniquely You dress form: steps 5 and 6 (upper back) | Hoopes Park Studios